


The cloud provides on-demand delivery of computing services over the internet. You can access technology services, such as computing power, storage, and databases, on an as-needed basis from a cloud provider like Amazon Web Services (AWS).
What is an EC2 Instance?
AWS Elastic Cloud Compute service (EC2) are virtual servers that run in the cloud. Instead of buying, owning, and maintaining physical data centres and servers, EC2 provides scalable computing capacity in the Amazon Web Services (AWS) Cloud.
This article will walk you through creating an EC2 instance from the AWS management console and how to connect to it locally using Secure Shell (SSH). For this tutorial, you will only use free tier-eligible services. In addition, the AWS console is continuously improving; therefore, some panes may have moved, and the console may look different.
Prerequisites
An AWS cloud account;
Familiarity with the terminal.
Launch an EC2 Instance
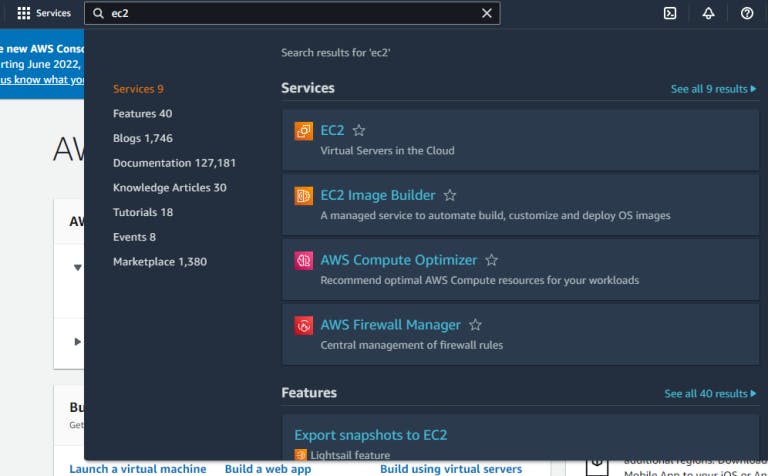
Step 1:
Sign in to the AWS console, search for EC2 in the search bar and select the first option.
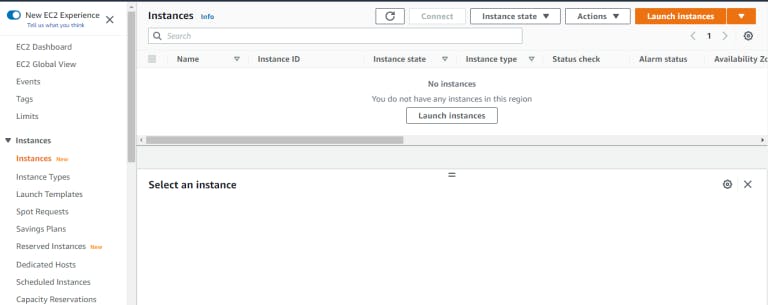
Step 2:
From the Instances pane, choose Launch instances.
Step 3:
Give your instance a name.
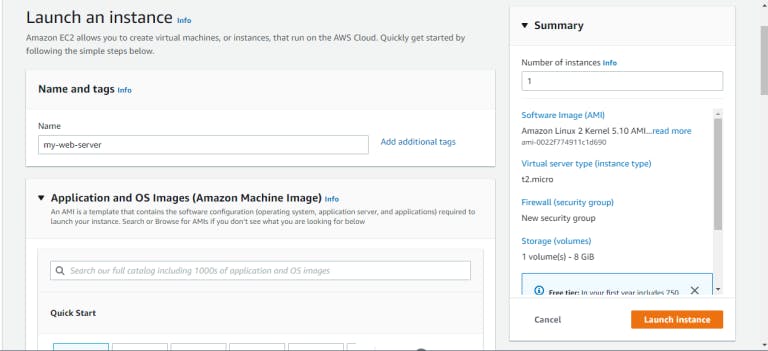
Step 4:
Select Amazon Linux under Application and OS images and leave the AMI as default.
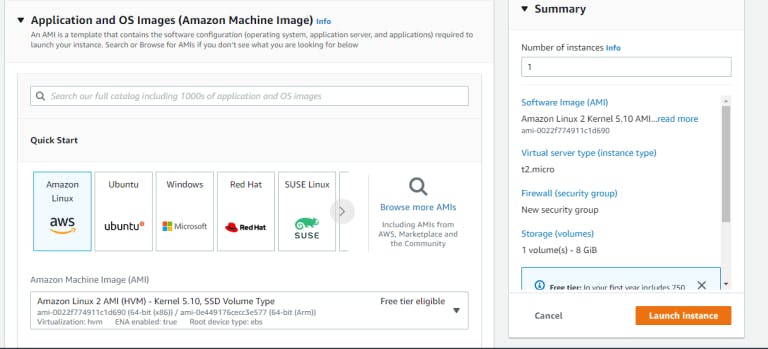
More on AWS AMI here.
Step 5:
Choose t2.micro as the instance type.
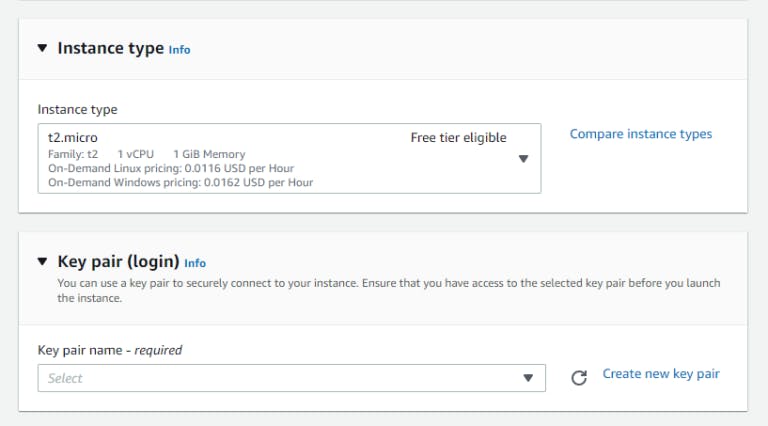
Step 6:
Under Key pair, select Create new key pair.
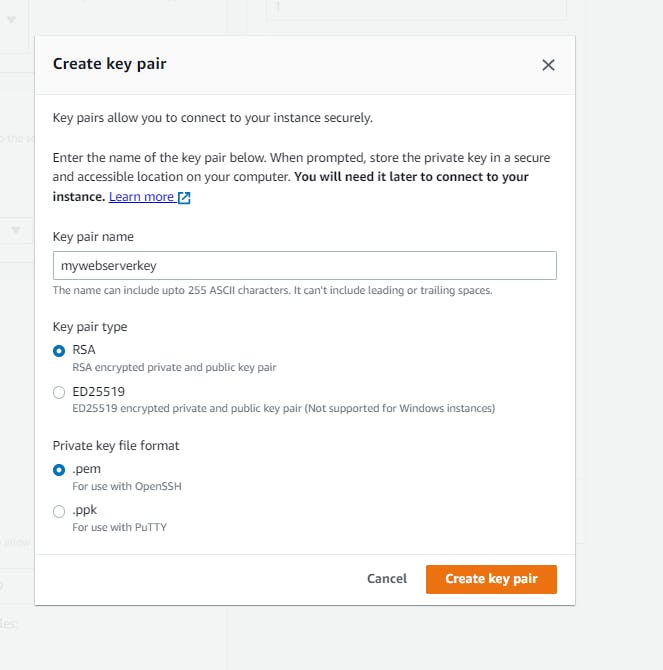
b. Name your key and leave the options as default. Choose Create key pair to download the key to your local computer.
Step 7:
Under Network settings, select Edit
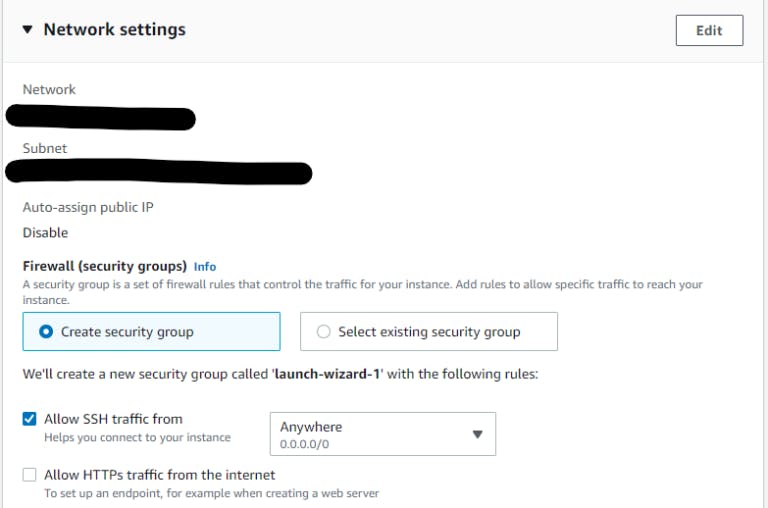
b. Leave the default VPC and select the first subnet from the dropdown.
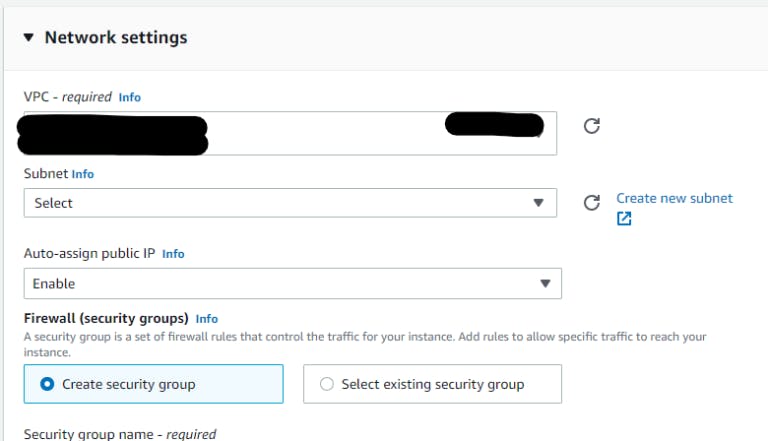
c. Select Enable from the Auto-assign public IP dropdown.
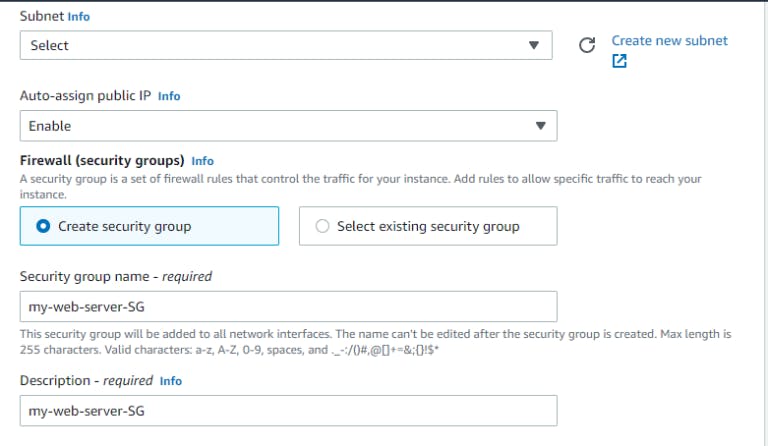
Step 8:
Choose Create security group and enter a name and description.
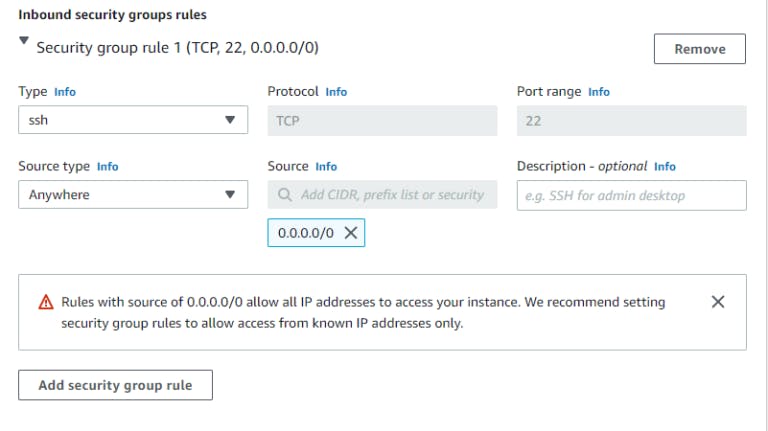
Step 9:
Leave Inbound security group rules as default.
Step 10:
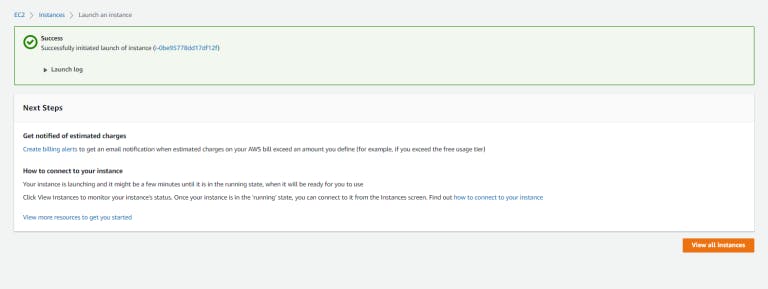
Leave Storage and Advanced settings as default and select Launch Instance.
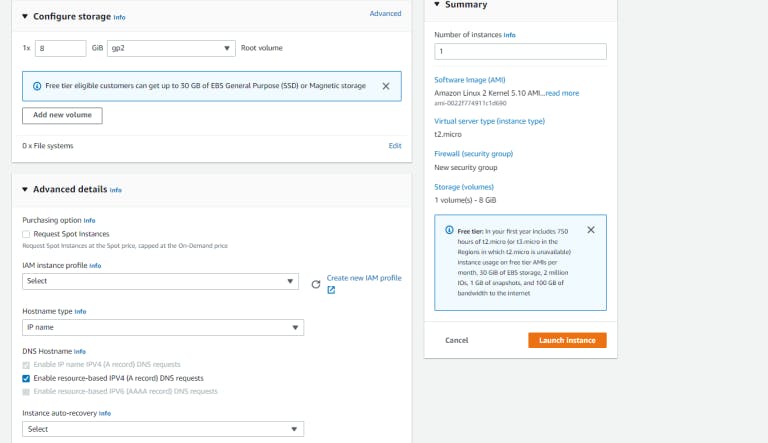
Good job! You have successfully created a running server.
Select view instances to view details of the running instance.
Connect to the Running Instance
Next, connect to the running instance using SSH.
On the EC2 pane, choose Connect to the instance and select SSH client.
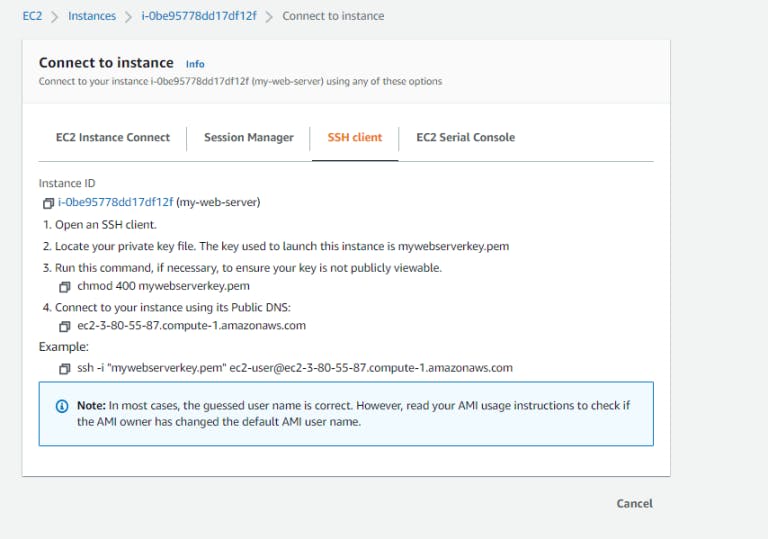
You have successfully created and connected locally to a running EC2 instance.
Conclusion
Congratulations! If you followed this walkthrough, you were able to launch an EC2 instance and connect locally using SSH.
Thank you for reading!