


Table of contents
- A bit about SQL Server
- Prerequisites
- Step 1: Choose your AWS region
- Step 2: Select a Database Engine
- Step 3: Create a user
- Step 4: Configure compute and storage
- Step 5: Configure connectivity and networking
- Step 6: Configure performance settings
- Step 7: Additional configurations
- Step 8: Create the instance
- Step 9: Connect to the database instance.
- Create a database in the instance.
- Additional Reading
- Conclusion
An advantage of the cloud is that it provides options to run your workloads in various ways, from running applications on virtual machines to deploying highly available microservices. Amazon Web Services (AWS) is the leading cloud computing provider and controls over 33% of the cloud computing market. AWS offers computing, analytics, machine learning, databases, and storage services. Amazon Relational Database Services (RDS) is a managed relational database offering from AWS that eliminates manual database administration tasks such as scaling, operating system (OS) maintenance, and data backup. RDS supports five database engines; MySQL, Microsoft SQL Server (MSSQL), PostgreSQL, MariaDB, and Oracle.
A bit about SQL Server
SQL Server is a relational database management system (RBDMS) developed by Microsoft, used for creating, maintaining, and implementing relational databases. MSSQL offers several editions targeted for specific workloads. These editions are enterprise, standard, web, developer, and express, which differ in capabilities and feature sets.
Enterprise Edition is the premium MSSQL offering for enterprise workloads.
Standard SQL Server Standard edition enables effective database management with minimal IT resources.
Web SQL Server Web edition is suitable for web applications.
Developer SQL Server Developer edition lets developers build and test applications on top of SQL Server.
Express editions SQL Server Express edition is a free database, ideal for learning and building desktop and small server data-driven applications.
Amazon RDS for SQL Server makes it easy to set up, operate, and scale SQL Server deployments in the cloud. In this tutorial, you will deploy a Microsoft SQL Server on an Amazon Relational Database Instance and connect to the instance locally using SSMS. You will also get to load data into a table on the database and query the data.
Prerequisites
To follow along with this tutorial, you should be familiar with the AWS console, SQL, and RBDMS. It is also necessary to have a SQL server client such as SQL server management studio (SSMS) or Azure Data Studio installed locally. Download and install either client from SQL server management studio or Azure Data Studio.
Before you begin, please note that the AWS console is continuously improving; therefore, some panes may have moved, and the console may look different.
Step 1: Choose your AWS region
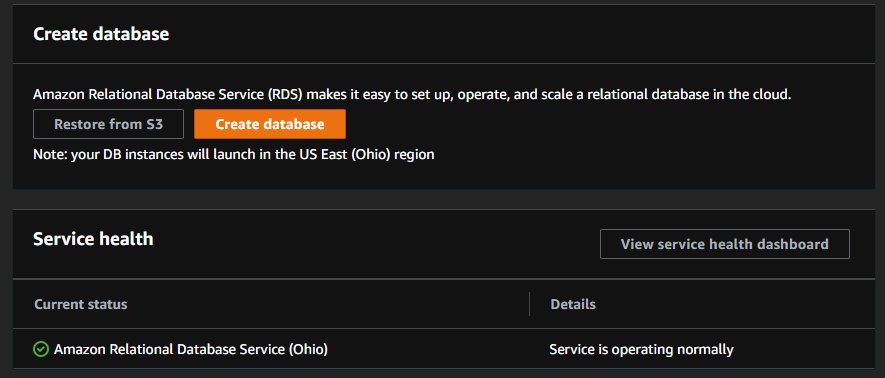
Sign in to the Amazon console https://signin.aws.amazon.com/ and search for RDS in the search bar. On the RDS page, create a database. Take note of the AWS region in the pane; this is where you will deploy your database instance. For this tutorial, you will deploy the database instance in Ohio (us-east-2) region. You can learn more about AWS RDS regions and zones here.
Step 2: Select a Database Engine
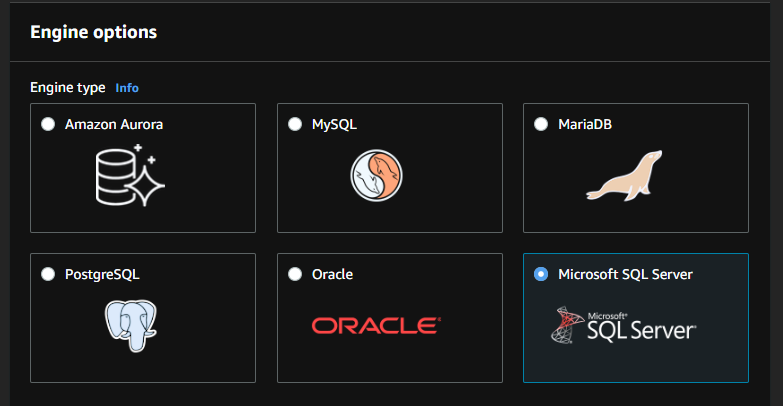
Choose Standard create as the database creation method. This method allows you to configure the database that fits your workload needs. Next, select Microsoft SQL Server as the database engine.
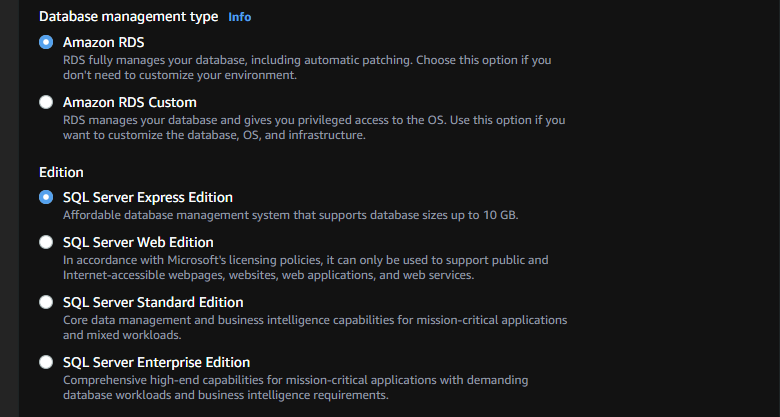
For database type, accept the default Amazon RDS settings. This option enables you to get the full management capabilities of RDS. The express edition is sufficient for the use case in this tutorial. However, you should select the right edition for your workload.
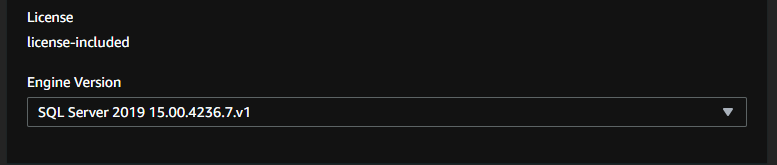
The database license cost is included with the instance cost by AWS. The most recent SQL Server 2019 engine version is selected by default, which is good enough for this scenario.
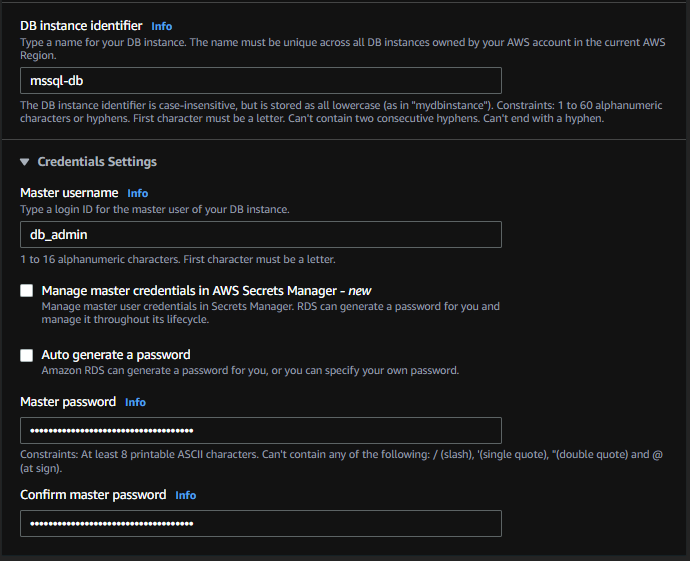
Step 3: Create a user
Give your instance a name on the settings pane, then expand the credentials settings to create an administrative user account. This user will have complete control of the database instance, and you can create other users once the setup is complete.
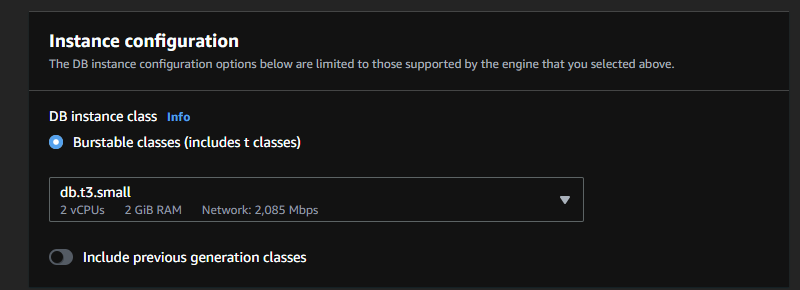
Step 4: Configure compute and storage
Leave the instance configuration settings as default; db.t3.small has two vCPUs and two GiB RAM, which is sufficient for this tutorial.
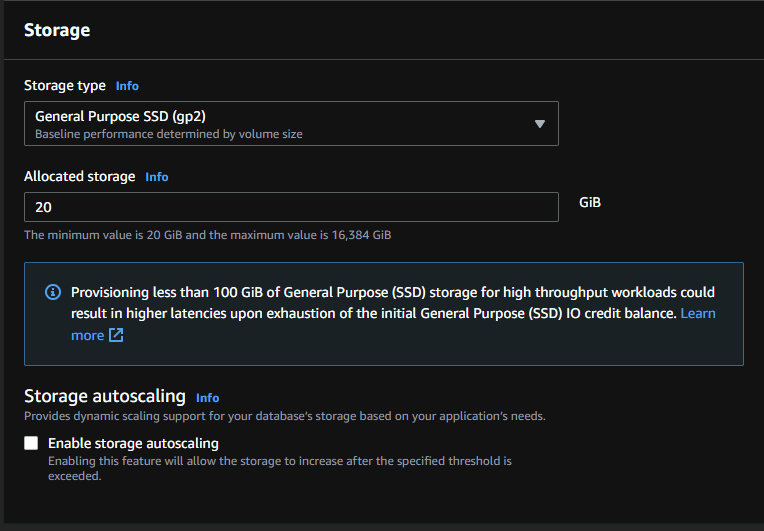
Accept the default storage type and allocated storage settings on the storage pane. Uncheck storage autoscaling, the minimum allocated storage of 20GiB is sufficient for this tutorial.
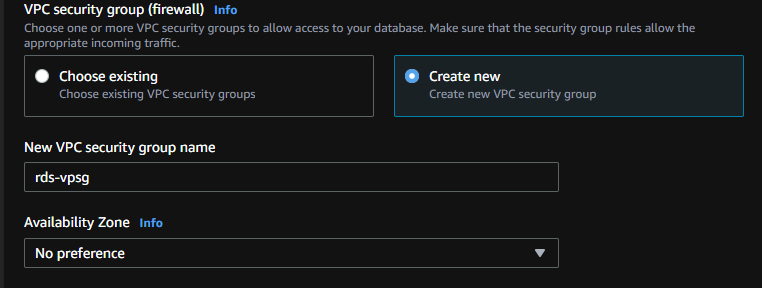
Step 5: Configure connectivity and networking
Since this database instance does not need to connect to a compute instance, accept the default settings for connection to compute resource, network type, and virtual private cloud (VPC) settings.

For the VPC security group, select create new, then choose No preference for the availability zone.
Accept the default port 1433 and leave RDS proxy unchecked.
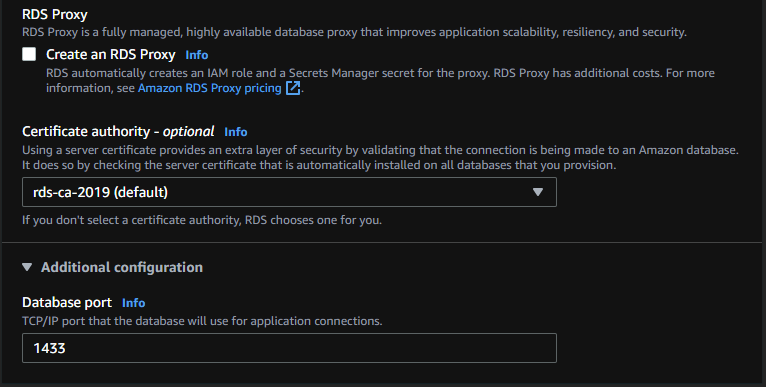
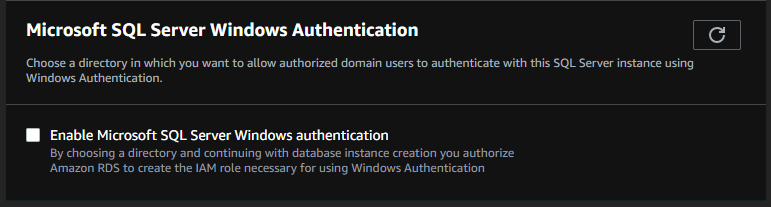
Leave the windows authentication option unchecked.
Step 6: Configure performance settings
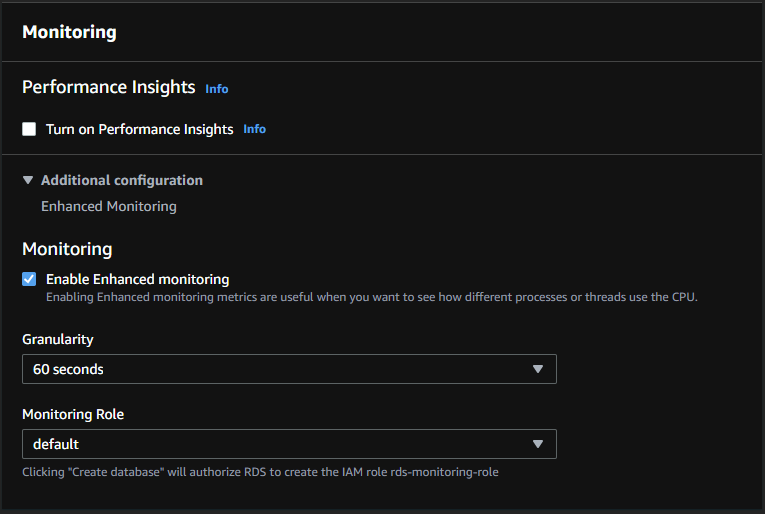
Uncheck the performance insights settings; it is an advanced performance monitoring feature for diagnosing performance challenges. The feature is not required for this tutorial. Leave the additional configurations as default.
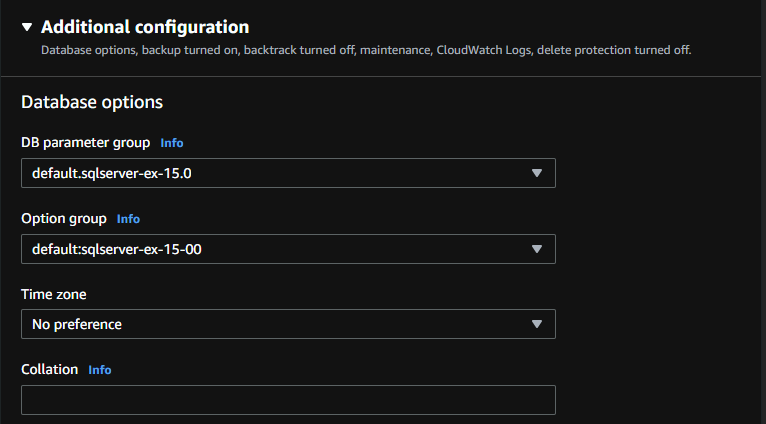
Step 7: Additional configurations
Accept all default settings for database options.
Accept all default settings in the backup pane.
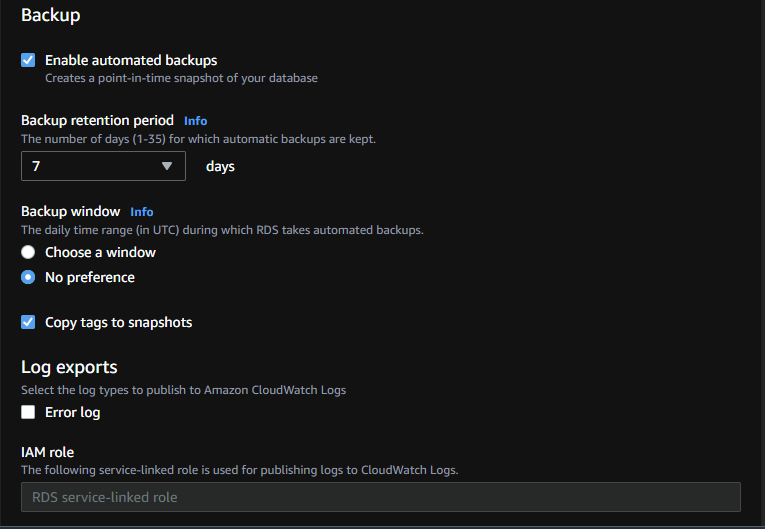
Also, accept all default settings for maintenance.

Step 8: Create the instance
Finally, you will see the estimated monthly cost for the database instance. Select create database to create the instance.
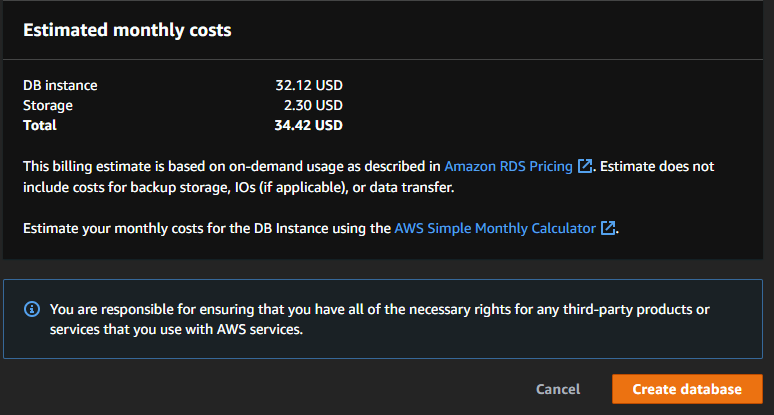
This action takes a few minutes; wait until the status changes to created before connecting to the instance.

Once complete, select the instance name to view its configuration setting and copy the instance endpoint; this is the server name to connect to.
Step 9: Connect to the database instance.
This tutorial will make use of SSMS. On the object explorer pane in SSMS, select connect and select database engine. Enter the endpoint you copied earlier as the server name; the login name and password are the username and password you created in step 3. Leave SQL server authentication as default, then connect.

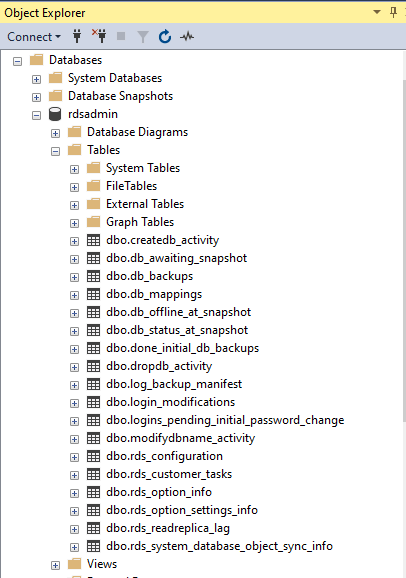
Now that you are connected, expand the object explorer to view the default database created by RDS. There are also several tables created for administration, backup, and maintenance, which AWS will manage.
Create a database in the instance.
To query data in a table, you must first create a database that will hold the table.
CREATE DATABASE salesdata;
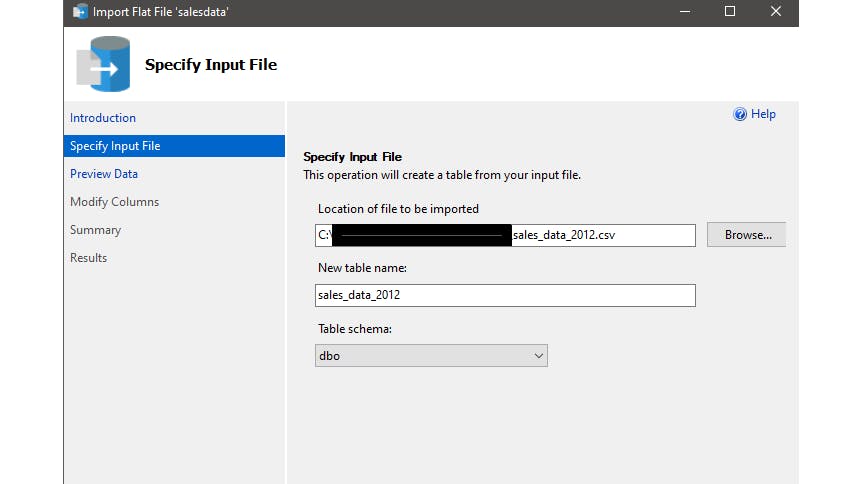
Click on the refresh button on SSMS to view the newly created database. Then import a flat file using SSMS. Next, load data into the table. The sales data for 2012 is n a local CSV file; you can SSMS to load data into the table.
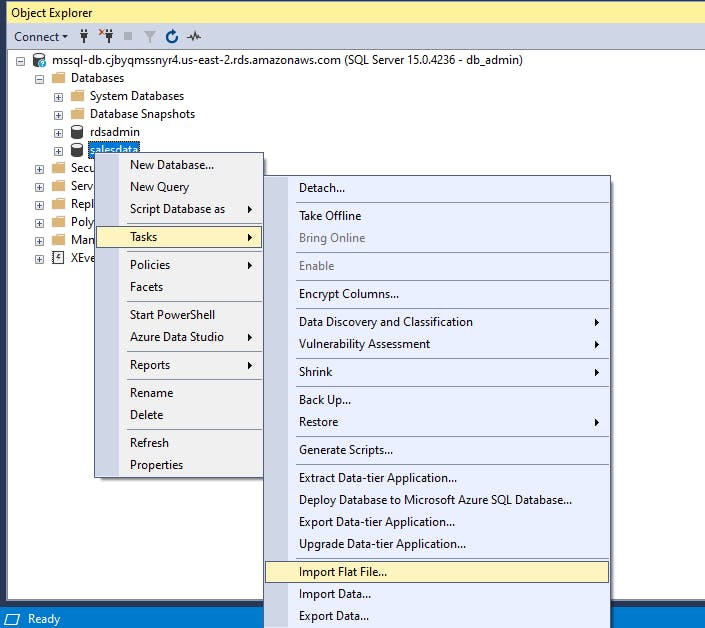
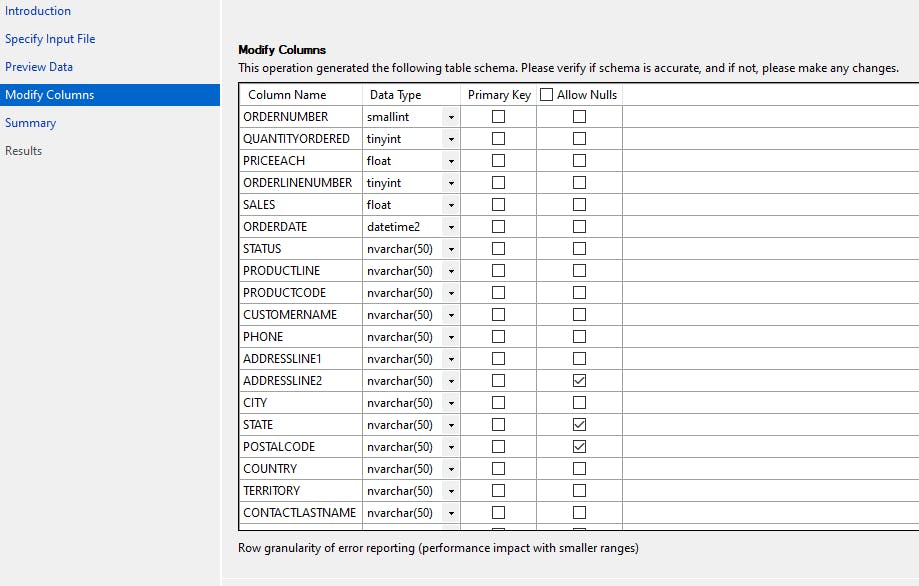
Selecting the flat file on the import wizard page creates a table for you. You may edit the table name to adhere to your naming convention. Once the data has been imported, select next to preview the data. Select next and modify the columns if you wish to transform the data.
Once the data modification is complete, click next to view the summary.
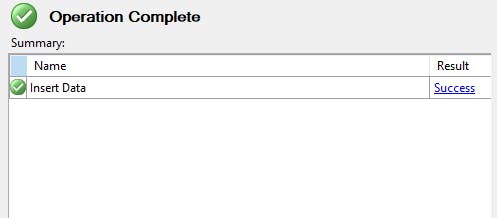
This process takes a while to complete depending on the size of your data. Once the data loading is completed, you will get a success message.
Great job so far. Next up, query the data.
To count the number of records in the row, run;
SELECT COUNT (*) itemcount from [dbo].[salesdata_2012]
Query result
| itemcount |
| 2823 |
To view all product items and the number of sales for each item;
SELECT COUNT(*) itemcount, productline FROM [dbo].[salesdata_2012]
GROUP BY productline
ORDER BY itemcount DESC
Query result
itemcount | productline |
967 | Classic Cars |
607 | Vintage Cars |
331 | Motorcycles |
306 | Planes |
301 | Trucks and Buses |
234 | Ships |
77 | Trains |
Additional Reading
The sales data was obtained from Kaggle, although modified https://www.kaggle.com/datasets/kyanyoga/sample-sales-data.
To connect to your server locally, you need to enable public access. Read more on AWS Security groups and how to control access to the database instance https://docs.aws.amazon.com/AWSEC2/latest/UserGuide/security-group-rules.html.
Conclusion
In this article, you deployed an SQL Server on AWS RDS, connected locally using SSMS, loaded data into the table, and queried the data.
I hope you found this post to be informative.
I'd love to connect with you at Twitter | LinkedIn | GitHub
See you in my next article. Take care!!!