


A static website is a web page with unchanging contents. The website consists of fixed items and is accessible to end-users. Amazon Simple Storage Service (Amazon S3) is an object storage service that stores data as objects within buckets. An object is a file and any metadata that describes the file. A bucket is a container for those objects.
We can configure an Amazon S3 to function as a website. This article illustrates how to host a static website using Amazon S3 and speed up the delivery of content using AWS CloudFront.
Prerequisites
An AWS cloud account; Familiarity with the AWS management console; Working knowledge of HTML and web development.
Note: The AWS console is continuously improving; therefore, some panes may have moved, and the console may look different.
Create a public S3 bucket and upload files
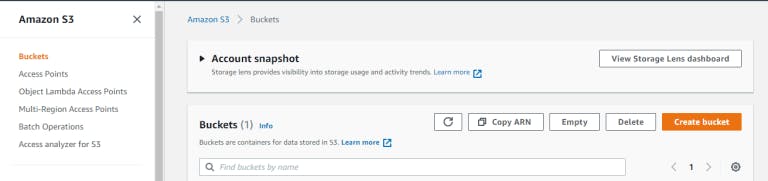
From the AWS management console, search for S3 and choose the first option.
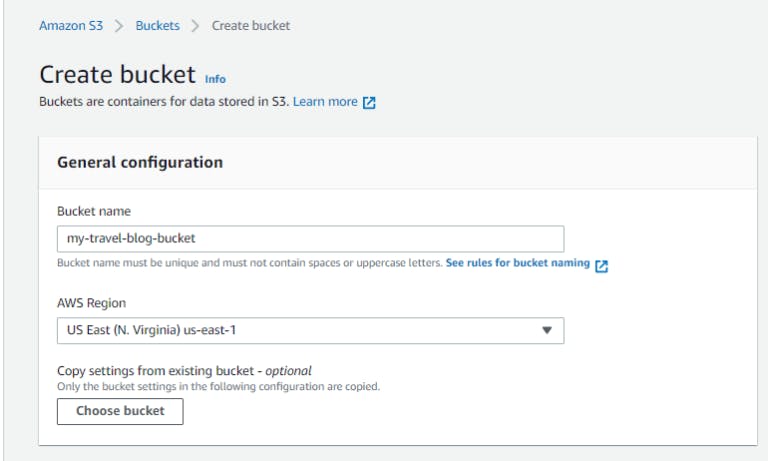
On the S3 console, select Create bucket.
Give your Bucket a unique name and choose a region. Bucket names must be globally unique because they form part of the Bucket’s URI.
For Object Ownership, leave the default settings.
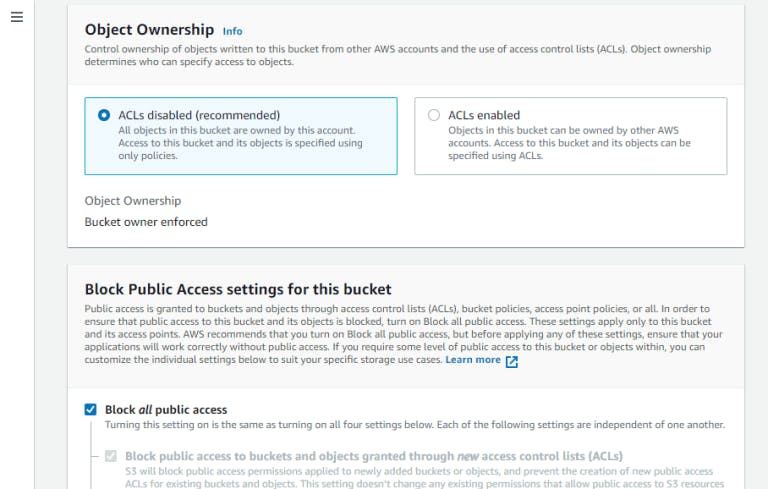
Uncheck Block all public access. Without public access, the site would be publicly inaccessible.
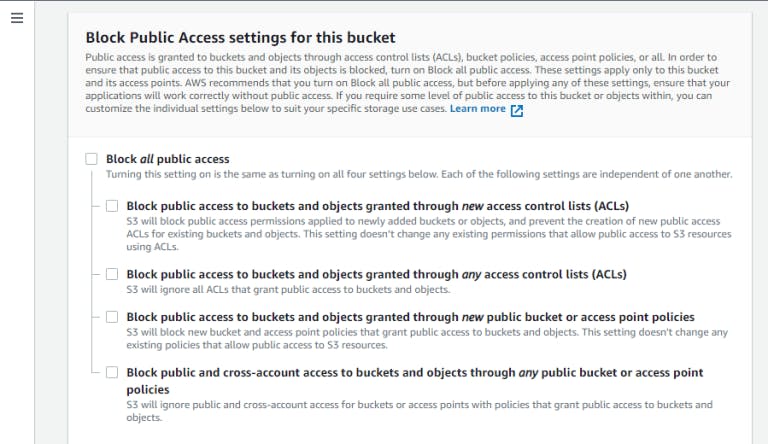
Acknowledge the public access warning
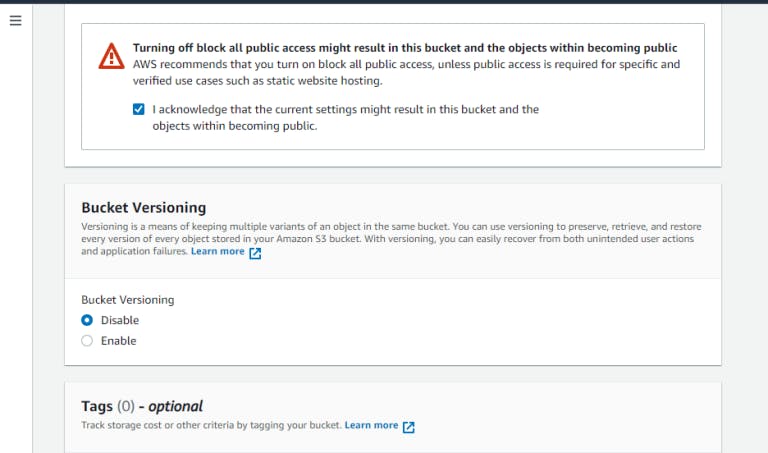
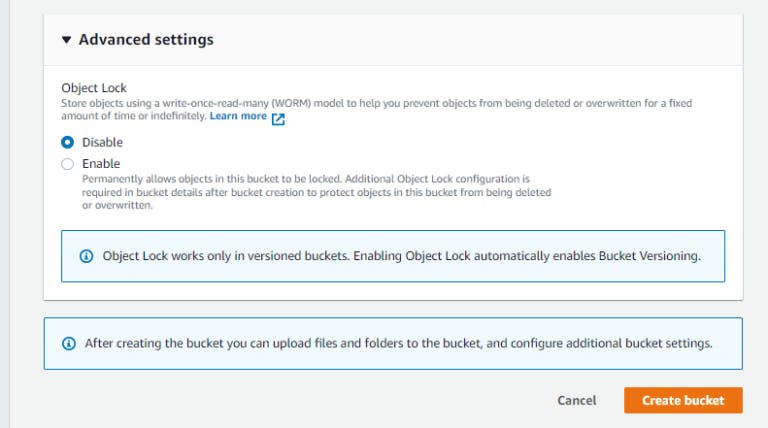
Leave other settings as default and Create Bucket.
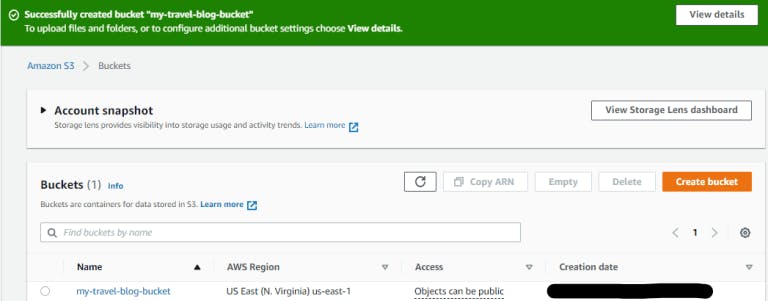
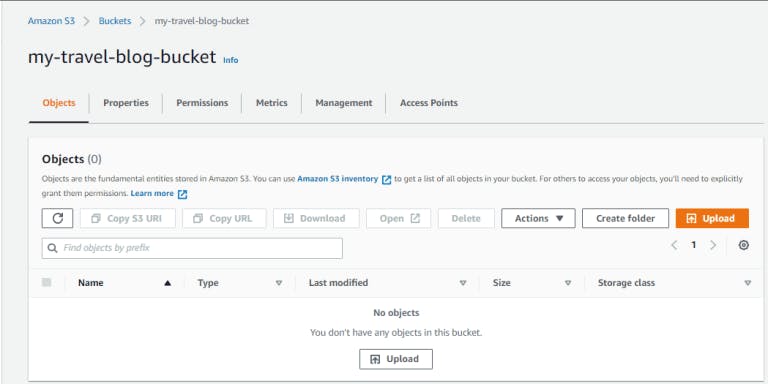
Our Bucket – ***my-travel-blog-bucket ***was successfully created.
Select the newly created S3 Bucket and choose Upload.
Select Add files or Add folders to upload files and folders, respectively.
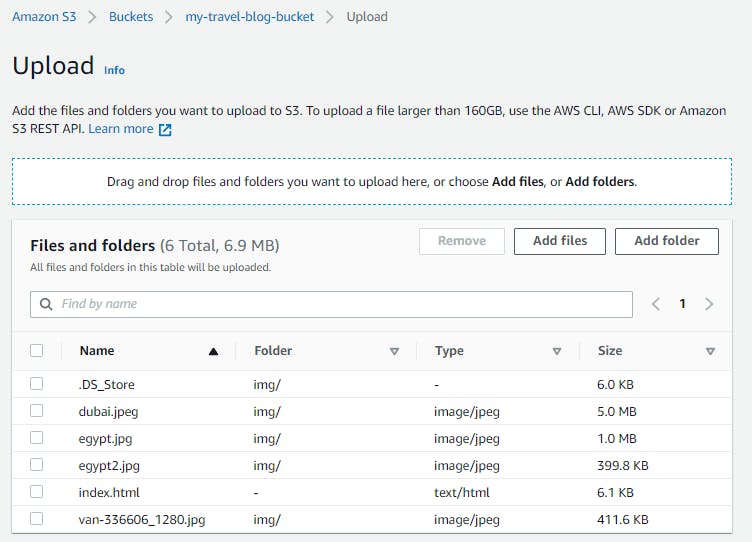
Once all required files are uploaded, select Upload.
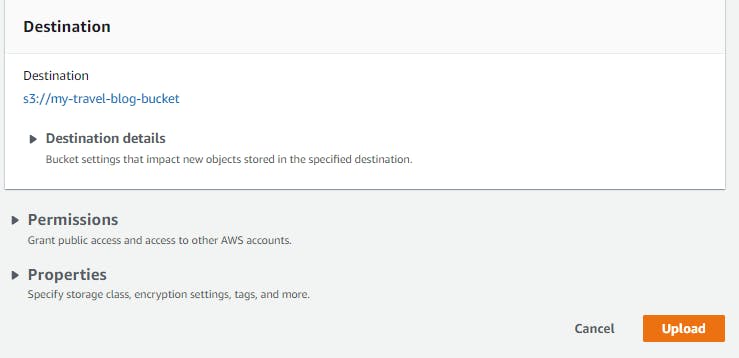
We will get a success notification indication that all files have been uploaded to the S3 Bucket.
Configure S3 Bucket for website hosting and secure it using IAM Policies
To prevent users with malicious intent from modifying the content of the S3 bucket, we need to secure the bucket’s Identity and Access Management (IAM) policies. Users are only required to be able to read the contents of the bucket and not make modifications.
From the created bucket navigation pane, select Permissions.
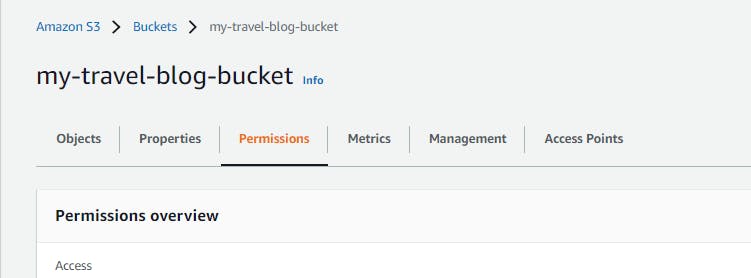
Then Edit Bucket Policy, and replace the policy with:
{
"Version":"2012-10-17",
"Statement":[
 {
   "Sid":"AddPerm",
   "Effect":"Allow",
   "Principal": "*",
   "Action":["s3:GetObject"],
   "Resource":["arn:aws:s3:::my-travel-blog-bucket/*"]
 }
]
}
Replace the Resource value with the bucket’s Amazon Resource Name (ARN).
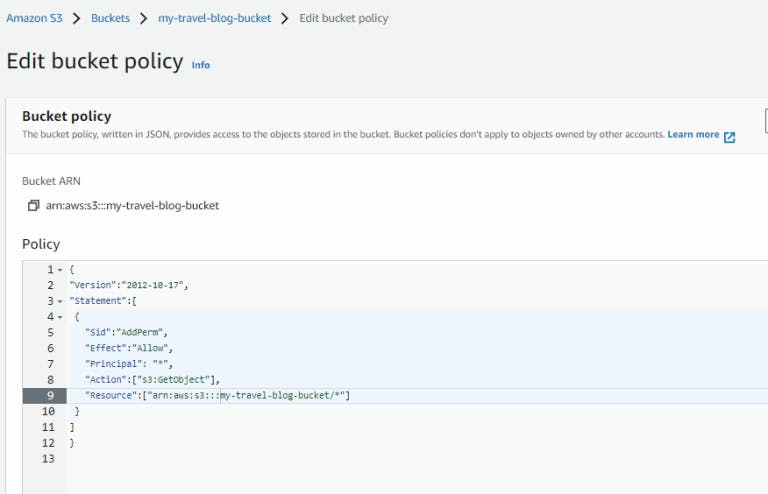
Next, save changes.
usercontent.one/wp/www.blogher.tech/wp-cont..
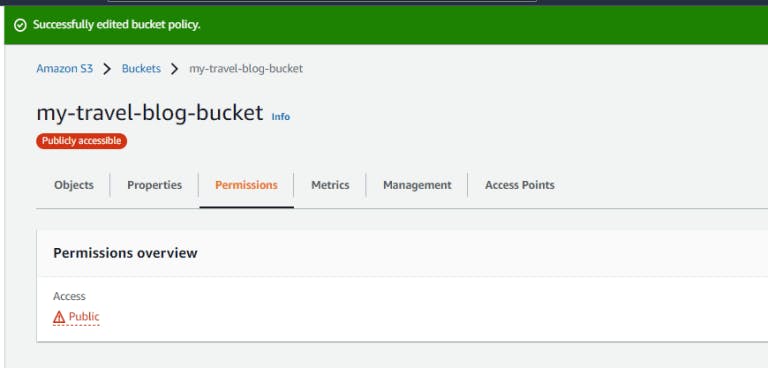
We have successfully updated the bucket policy.
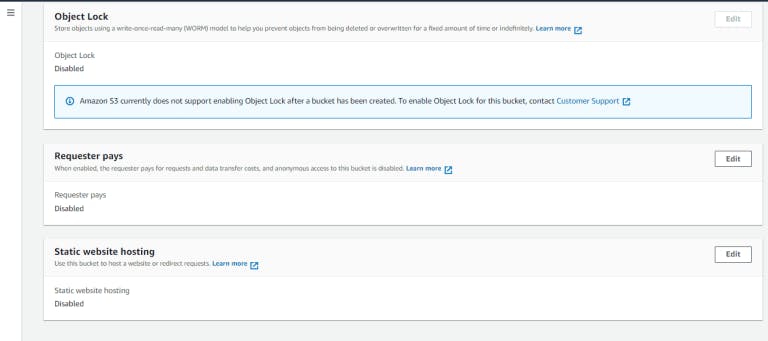
Next, enable Static Website Hosting for the bucket. On the properties tab, edit the Static Website Hosting section.
Select Enable and leave other settings as default.
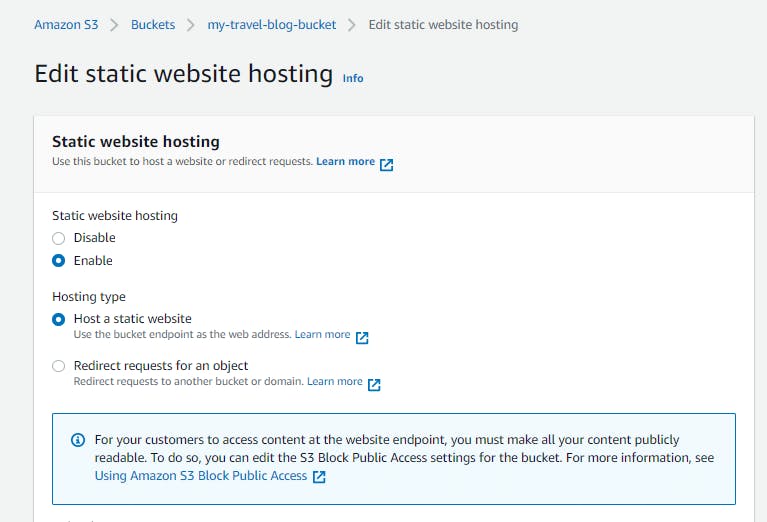
The static website is now publicly available and can be accessed via the Bucket Website endpoint.
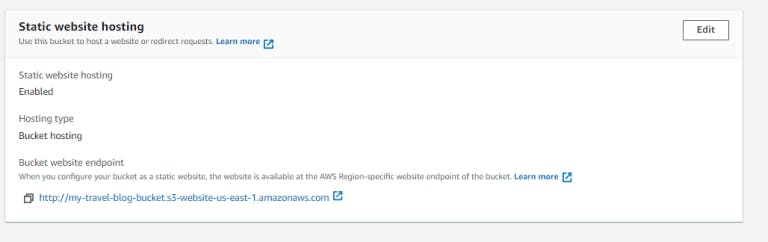
Copy the** endpoint URL** and paste it into a web browser, and notice that the endpoint is not secure.
usercontent.one/wp/www.blogher.tech/wp-cont..
Speed up content delivery using AWS CloudFront
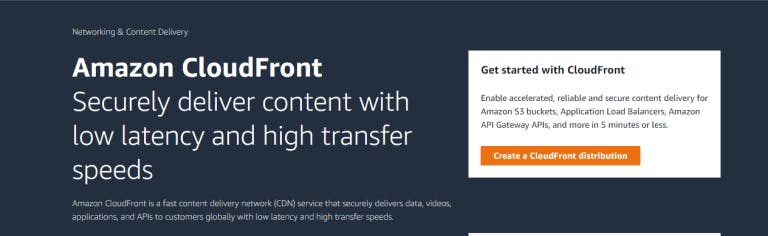
Amazon CloudFront is a web service that speeds up the distribution of static and dynamic web content to users. CloudFront delivers your content through a worldwide network of data centers called edge locations. When a user requests content that you’re serving with CloudFront, the request is routed to the edge location that provides the lowest latency (time delay) so that content is delivered with the best possible performance.
From services, search for CloudFront and choose the first option. On the CloudFront homepage, select Create a CloudFront distribution.
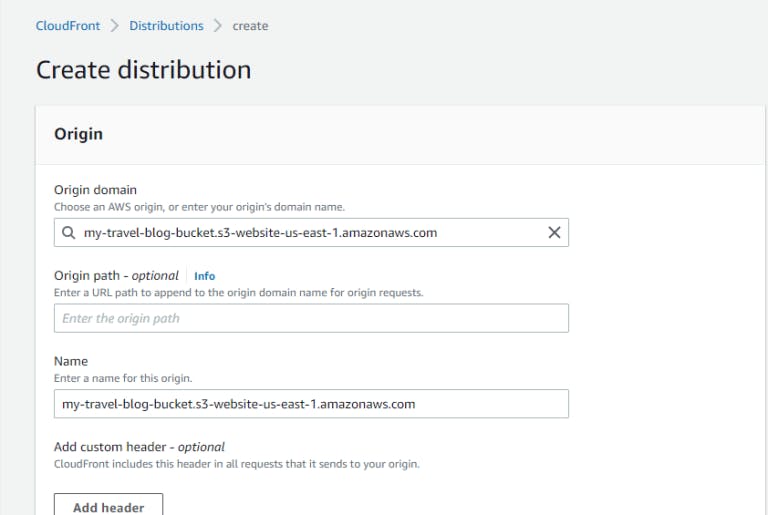
For Origin Domain, paste the Bucket website endpoint copied earlier. The Cloudfront distribution name will be automatically updated.
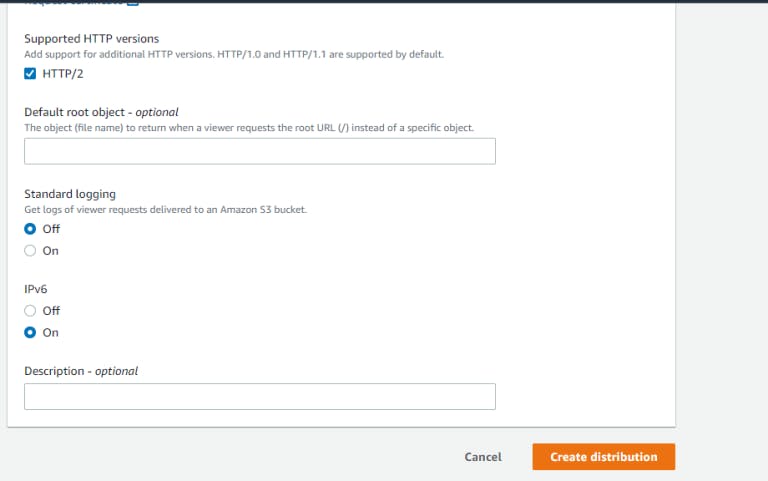
Under Default cache behavior > Viewer, change Viewer protocol policy to Redirect HTTP to HTTPS. Unlike the Bucket website endpoint, the CloudFront distribution should be secured.
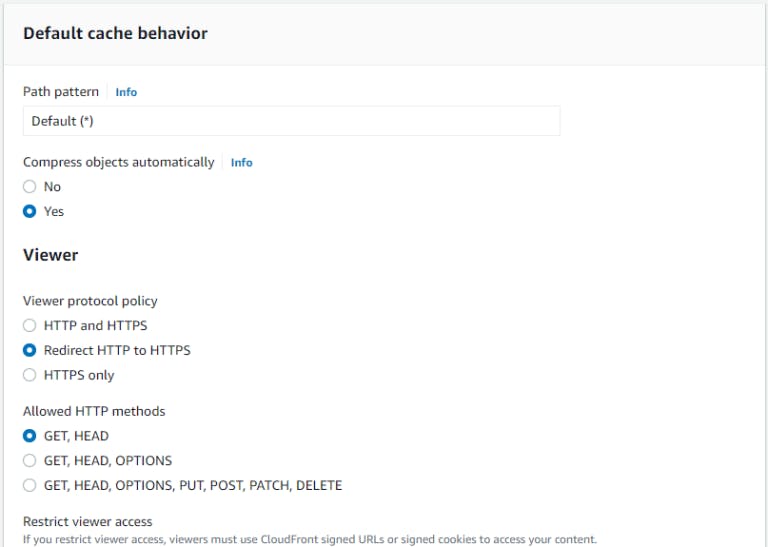
Leave other settings as default and select Create Distribution.
It may take a few minutes before **Last Modified **changes from Deploying to the date and time of creation.
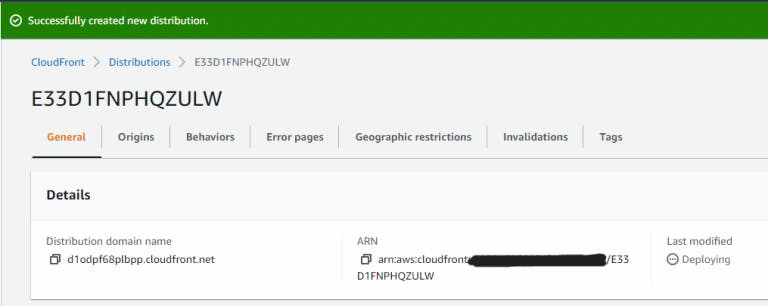
Copy the Distribution domain name and paste it into a browser. In this case, the endpoint is secure.

Conclusion
We hosted a static website using Amazon S3 and delivered content closer to our users using a Content Delivery Network (CDN) – AWS CloudFront.
Generally, we can access our site from three endpoints. All three endpoints serve the same content:
The CloudFront distribution domain name;
The S3 Bucket website endpoint;
The S3 bucket Object URL; Buckets > Index.html >Copy S3 URI.

Notice that this endpoint is secure, and it points directly to the index page.
Clean Up
To save costs, I have deleted the resources used during this tutorial. Therefore, the endpoints listed here may no longer be accessible. Apologies!.
Thank you for reading.